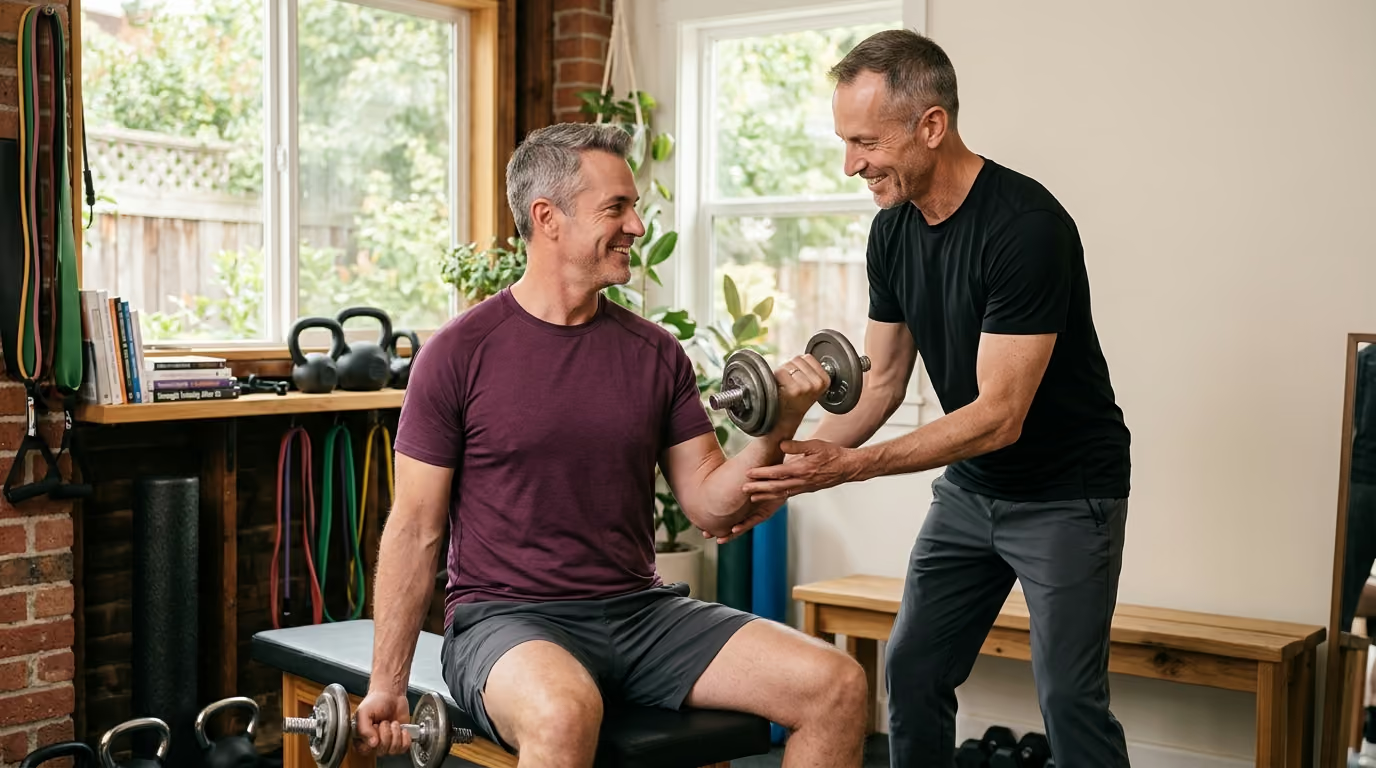

Aging lifters often blame specific exercises for aching joints, but managing overall training volume and modifying movement patterns builds sustainable lifelong strength.





Contrary to standard gym advice, keeping your joints healthy after 35 does not require abandoning heavy barbells or coddling your body in perpetual high-rep bubble wrap. Complete avoidance of external load starves connective tissues of the mechanical forces needed to remain resilient. Tendons, ligaments, and articular cartilage require systematic physical stress to retain structural integrity. Joint-friendly training is not about hiding from resistance, but applying an intelligent dose of force that drives adaptation without provoking chronic inflammation or tissue breakdown.
Passing age 35 is not a biological cliff where physical capacity collapses overnight. Instead, it marks a practical transition point where recovery capacity, accumulated sport or work strain, past structural injuries, and sedentary desk hours begin to interact with your workouts. You can continue building significant muscle and strength for decades when you stop treating every joint ache as structural damage and start managing force, movement variability, and recovery with precision.
Load is often defined strictly as the weight placed on a barbell. In a joint-friendly training framework, total load encompasses every physical stressor acting on a targeted tissue. Load includes external weight, sets, repetitions, movement speed, leverage, training frequency, and range of motion. It also includes internal variables like emotional stress, poor sleep, and non-gym physical activity. An exercise can become significantly more demanding without adding a single pound if you simply increase the range of motion, slow down the eccentric phase, or shorten rest periods.
Understanding the difference between capacity and tolerance keeps your joints healthy over long periods. Tissue capacity is the maximum force a muscle or tendon can theoretically handle before failure. Tissue tolerance is the amount of work a joint can repeatedly absorb right now without creating a painful inflammatory response. A lifter may have the structural muscle capacity to bench press heavy weight. Yet, due to four nights of poor sleep and high work stress, their current shoulder tolerance may be substantially lower.
The American College of Sports Medicine provides population-level targets for strength and muscle growth. These include training around 80 percent of one-repetition maximum for pure strength and completing roughly ten weekly sets per muscle group for hypertrophy. While these benchmarks offer clear direction for healthy tissues, they are not mandatory starting points when recovering from joint flares. For joint-friendly longevity, tracking your effort using repetitions in reserve or rate of perceived exertion is far more reliable than chasing fixed percentages. Keeping two to three repetitions in reserve on your main lifts yields high muscular tension while sparing your joint structures from the grinding, unstable form that occurs during true failure.
Injury risk and sudden joint flares rarely stem from one isolated movement. They usually result from sudden spikes in acute workload relative to what your body has prepared for over previous weeks. Doubling your weekly squat volume, switching suddenly to dynamic high-speed lifts, or returning from a long vacation to your previous peak weights introduces a massive load spike. Managing joint health requires changing only one major training variable at a time. If you increase weight, keep the volume steady. If you add new movement variations to your routine for strength and body composition, reduce the total sets for that week.
The idea that there is only one mandatory way to perform an exercise causes unnecessary movement anxiety. Human anatomy varies widely across hip socket depths, femoral neck angles, shoulder socket orientations, and limb lengths. Forcing every lifter into a rigid, textbook posture often drives force directly into sensitive joint structures. True joint-friendly training centers on movement variability. Exploring comfortable adjustments in grip width, hand orientation, foot angle, stance width, tempo, and load placement allows you to target muscles effectively while bypassing joint irritation.
Rigid posture rules can create fear of movement, which ironically makes joints feel more sensitive over time. A joint-friendly program treats technique as controlled, repeatable movement that respects your current anatomy rather than an unyielding rulebook. For instance, shifting from a straight barbell bench press to a neutral-grip dumbbell press changes the angle of the shoulder joint, taking pressure off sensitive front-shoulder tendons. Switching from a deep barbell back squat to an elevated trap-bar deadlift or a box squat reduces extreme hip and knee flexion while preserving hard lower-body work.
Bilateral exercises lock both limbs into a single rigid path. Incorporating unilateral movements like split squats, single-leg hip hinges, and single-arm cable rows reveals subtle side-to-side compensations while distributing stress evenly across your structure. Unilateral exercises reduce the total spine and joint loading required to create a powerful muscular stimulus. You can thoroughly challenge your leg muscles with a set of dumbbell split squats using a fraction of the raw weight demanded by a heavy back squat.
A reliable foundation for physical health begins with global physical activity guidelines. World Health Organization physical activity recommendations state that adults should complete 150 to 300 minutes of moderate-intensity aerobic work, or 75 to 150 minutes of vigorous aerobic activity every week. The World Health Organization also explicitly advises muscle-strengthening activities involving all major muscle groups on two or more days per week. For lifters over 35 seeking long-term resilience, combining structured strength sessions with low-impact aerobic work provides systemic circulation that speeds up joint recovery.
For lifters managing joint stiffness, two to three full-body strength sessions per week are generally superior to five-day bodybuilding splits. Spacing full-body workouts 48 to 72 hours apart grants connective tissues complete recovery windows between heavy exposures. Research on older adults demonstrates that two to four training days weekly, with roughly 48 hours between sessions for the same muscle groups, builds strong muscles while minimizing joint strain. This approach fits into a broader vision of longevity and healthy aging without dominating your weekly calendar.
When building back tissue tolerance, apply a strict progression hierarchy. Never rush to add heavy iron to the bar when an exercise still feels unstable or provocative. Follow this step-by-step order to progress your training safely:
Deloading is a planned, temporary reduction in overall training volume and intensity. Instead of forcing a rigid deload every four weeks, adjust your training volume based on your actual joint symptoms, work demands, and sleep quality. If you experience persistent morning stiffness, elevated joint aching, or significant life stress, drop your total working sets by 40 to 50 percent for one week. Keep the movement patterns clean, drop the intensity, and allow your tissues to reset before attempting to push performance metrics again.
The primary job of a warm-up is to raise core body temperature, increase joint fluid viscosity, and rehearse the exact movements you plan to load. Systematic reviews on exercise-based warm-up strategies indicate that warm-ups favor injury reduction, even though absolute claims of total injury prevention lack definitive evidence. Reviews specifically examining upper-body warm-ups note that while dynamic preparation improves immediate muscular force, direct long-term injury prevention evidence remains limited. A warm-up is a tool for physical preparation and real-time tissue checking, not an absolute guarantee against injury.
A dynamic four-stage warm-up template effectively prepares sensitive joints:
Ramp-up sets are essential for joint protection. Moving directly from a bodyweight warm-up to a heavy working load surprises cold connective tissues. Performing three or four ramp-up sets using light to moderate weight acts as an early warning system. If your knee or shoulder feels pinched during a light ramp-up set, you can modify the angle, drop the weight, or swap the exercise before applying dangerous forces to an unprepared joint.
Long static stretching before heavy strength training is largely unnecessary for joint protection. Research on pre-exercise static stretching shows mixed effects on power output and minimal impact on overall injury rates. Static stretching can temporarily reduce muscle stiffness, but it does not prepare connective tissues for rapid force absorption. Save long static holds for after your workout if they promote relaxation, and prioritize dynamic movement rehearsal during your pre-lift preparation.
The shoulder complex relies heavily on muscle coordination and scapular tracking. Traditional barbell overhead pressing or ultra-wide bench pressing forces the upper arm into extreme external rotation, which can compress sensitive subacromial structures. Modify your shoulder training by working in the scapular plane, positioning your arms roughly 30 to 45 degrees forward of a direct side angle. This creates a natural pocket for the shoulder joint to move without pinching.
Swap rigid straight barbells for neutral-grip dumbbells, Swiss bars, or landmine attachments. Balance every upper-body pressing movement with equal volume in supported pulling exercises, such as chest-supported dumbbell rows and face pulls. Supported rows build upper-back density and rotator cuff stability without placing heavy static demands on your lower spine or anterior shoulder caps.
Knee pain does not mean you must permanently eliminate squatting. The National Institute for Health and Care Excellence guidelines NG226 for osteoarthritis management strongly recommend tailored therapeutic exercise, including local muscle strengthening and general aerobic fitness, for all people suffering from joint degeneration. The guidelines note that exercise may cause temporary discomfort when starting, but consistent long-term participation reduces joint pain and improves everyday physical function.
Modify knee-dominant patterns by controlling joint depth and leverage. Use box squats to establish a safe, repeatable bottom range of motion, stopping the movement before your knee experiences painful compression. Replace lunges with low-step step-ups, focusing on a slow four-second eccentric lowering phase. If acute knee pain flares up, use isometric wall sits held at a comfortable knee angle to maintain quadriceps strength without irritating the joint surfaces.
Hip discomfort often arises from forcing rigid stance widths that clash with your individual bone structure. If deep squatting causes groin pinching or lateral hip aching, adjust your stance width and allow your toes to flare outward naturally. This creates room for your femur to rotate smoothly inside the hip socket.
For lifters needing to manage hip flexion strain, switch to hip hinges that emphasize the posterior chain with reduced hip bending depth. High-handle trap-bar deadlifts and Romanian deadlifts build glute and hamstring strength while limiting deep hip joint compression. Glute bridges and barbell hip thrusts allow you to build lower-body power while keeping your hips in a stable, comfortable position.
Managing lower back health requires avoiding two extreme mindsets: believing the spine is hopelessly fragile, and assuming spinal alignment does not matter at all. World Health Organization guidelines on chronic primary low back pain recommend non-surgical interventions, including structured exercise programs and self-care education, as essential tools for managing back health.
Reduce unnecessary back stress by choosing exercises that offer external support. Swap unsupported bent-over barbell rows for incline chest-supported dumbbell rows or cable rows. Replace heavy barbell back squats with goblet squats or elevated trap-bar deadlifts, which keep your torso upright and decrease leverage on your lumbar spine. Build core endurance using core stability drills like McGill side planks, bird-dogs, and Pallof presses rather than high-rep spinal flexing sit-ups.
Wrist discomfort during pressing movements often occurs when heavy loads force the wrist joint into extreme extension. Protect your wrist joints by maintaining a stacked neutral alignment, keeping your knuckles aligned over your forearms throughout the lift. Use push-up handles, parallettes, or hex dumbbells during floor push-ups to prevent harsh wrist extension.
When pulling heavy weights, select cable attachments that allow your forearms and wrists to rotate naturally during the movement. If reduced grip strength limits your ability to train larger muscle groups, use lifting straps for heavy deadlifts or rows. Straps allow your back and hip muscles to receive a complete training stimulus without straining your wrist and finger joints.
Pain during or after a workout is a data point, not a definitive diagnosis of structural tissue damage. Distinguishing between normal muscular effort and potential joint irritation is crucial for long-term consistency. Muscular fatigue produces a diffuse burning sensation that fades shortly after a set ends. Joint irritation often manifests as a sharp, localized, or deep aching feeling inside the joint capsule that can linger into the next morning.
A clinical pain-monitoring model used in tendinopathy rehabilitation offers a safe framework for managing exercise discomfort. Discomfort up to a 2 out of 10 on a standard pain scale is generally acceptable, provided it remains stable during your set and disappears shortly after. Pain reaching 3 to 5 out of 10 demands caution, requiring you to monitor the joint carefully over the following 24 hours. Any pain jumping above a 5 out of 10, or presenting as sharp, sudden, or unstable, means you should immediately modify or substitute the exercise.
The next-day response rule is your ultimate guide for load management. Connective tissues often take 12 to 24 hours to react to excessive mechanical stress. If your joint feels noticeably stiffer, more painful, or swollen the following morning, you exceeded your current tissue tolerance during the previous workout. When this occurs, lower your total sets, shorten your range of motion, or pick a less provocative movement variation until your next-day baseline stabilizes.
Many lifters assume that any joint discomfort during exercise means they are destroying their cartilage or tearing tendons. Systematic clinical evidence, including NICE guidelines for joint management, demonstrates that starting therapeutic exercise can initially cause mild, temporary discomfort without causing structural harm. Connective tissue adapts and grows stronger when exposed to manageable resistance.
The opposite extreme is equally destructive. Pushing through severe joint pain, taking anti-inflammatory medications to survive workouts, or grinding out ugly repetitions leads directly to systemic inflammation and tissue breakdown. Train your muscles hard, but treat your joints with care.
Research investigating resistance training protocols for knee osteoarthritis shows that structured weight training consistently improves joint function, decreases pain, and enhances physical capacity. A systematic review published in Sports Health examined varied resistance doses in individuals with knee osteoarthritis, finding significant clinical improvements in both pain scores and muscular strength across diverse training formats. The key variable is not whether you lift weights, but how effectively you manage progression and joint tolerance.
While exercise machines remove balance demands and isolate target muscles, their fixed movement paths can force your joints through unnatural arcs. Free weights, cables, and bodyweight variations allow your joints to make subtle micro-adjustments throughout every rep. Use both modalities intelligently based on what feels smoothest on your structure.
Complete bed rest or prolonged physical inactivity starves cartilage of nutrition and lowers tendon force tolerance. Except in cases of acute structural trauma or severe medical conditions, resting completely causes surrounding muscles to atrophy and lowers your overall physical capacity. Retain your active training volume by modifying exercises to stay comfortably within your pain-free zone.
A 45-year-old lifter reports dull, aching lower back tightness during and after floor barbell deadlifts.
A 39-year-old active man experiences a sharp pinching sensation in the front of his shoulder when lowering a barbell to his chest.
A runner over 40 experiences front knee aching when squatting below parallel.
A 37-year-old lifter experiences sharp wrist discomfort whenever their hands are placed flat on the floor during push-ups.
A lifter notices that while their workout felt great, their Achilles or patellar tendons feel stiff, painful, and tight the following morning.
While research on resistance training for joint health is growing, important gaps remain. Many exercise studies focus on short-term interventions lasting 8 to 12 weeks, meaning long-term data tracking joint lifters over several decades is limited. Many joint studies concentrate specifically on clinical populations with severe osteoarthritis rather than active lifters over 35 who want to balance high performance, aesthetics, and long-term joint health. Commercial claims made for anti-inflammatory supplements, specialized recovery gear, and extreme stretching devices often outpace rigorous scientific validation.
You should distinguish between everyday training discomfort and serious red flag symptoms that demand medical evaluation. Stop training immediately and consult a physician or licensed physical therapist if you experience:
Partnering with a sports-focused physical therapist or physician who values strength training ensures you receive a personalized diagnosis without being told to abandon exercise altogether. A great clinician will help you find non-provocative movement options, optimize your recovery strategies, and adjust your overall nutrition and metabolism to help you keep getting stronger safely as you age.
Strength and joint resilience after 35 are built through intelligent force management, adaptable exercise selection, and a commitment to listening to your body's feedback.
Stay connected for research-led guidance on fitness, body composition, skin, grooming, vitality, sexual wellbeing, relationships and healthy aging. Clear ideas for gay men 35+ who want to look good, feel strong and age with confidence.


Build habits and systems that support clear thinking, steady energy and long term capacity throughout a demanding career.
explore the Blog